Recipe for summer woodworking fun.

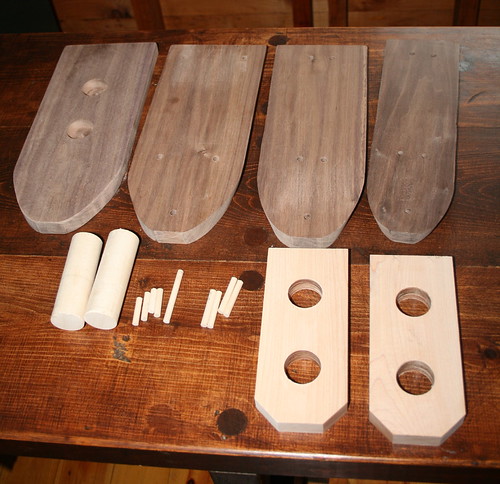
Project parts - in this case for a boat.
The dowels, both large and small, serve to align the other parts.
Additionally, the large ones are also the smoke stacks.
The darker parts are walnut, the lighter (except dowels) are maple.

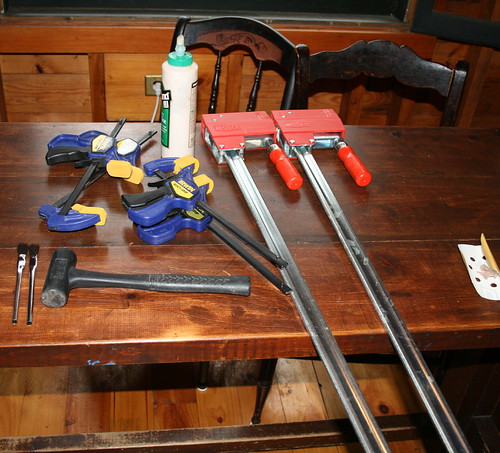
Tools - clamps, glue, dead blow hammer, glue brushes and sand paper.
We ended up only using the large clamps.

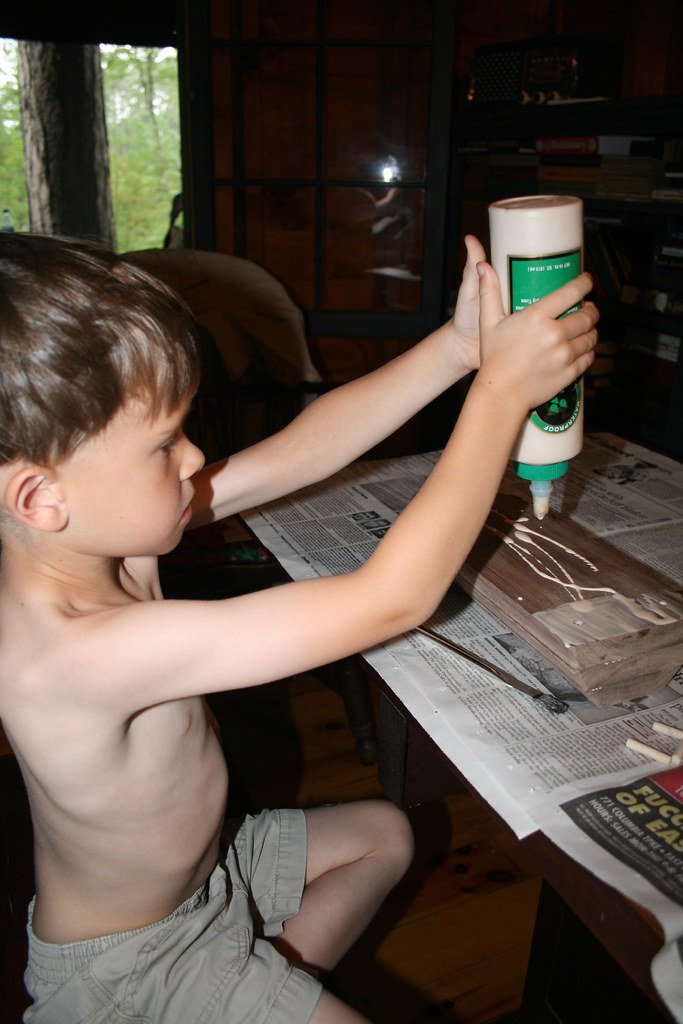
Eager helper.
My nephew, N, 5 years old.
If you look closely (click on the picture to make it larger) you'll see the holes for the dowels.

Ready for clamps.

Clamped and drying - time for a kayak ride.

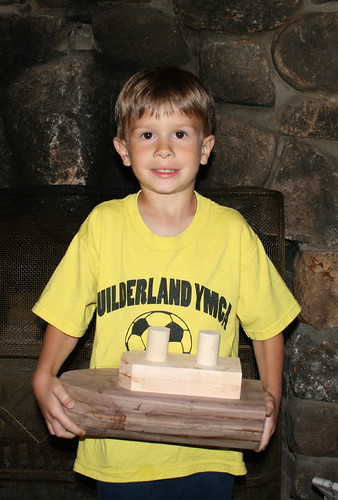
Look what I made!
(If you look closely you'll notice that the boat still needs sanding and finish.
We'll have to do that the next time we get together.)
A couple of design notes: I'm not entirely happy with the prow of the boat.It needed some more shaping but I was having trouble getting my head wrapped around how to do it so it looked right. Oh and the kid better not drop this on his foot, cause it's heavy!
You may have noted that we used regular wood glue, not waterproof glue, to hold the pieces together. This was intentional . If I were building this by myself I'd have used polyurethane glue. However, as anyone who has ever used it will tell you, it's really messy and if you get it on your skin it turns your skin brown. I wasn't comfortable using it with a 5 year old.
As far as I know, the boat has not been tested for seaworthiness. At some point we will have to see how it floats.
No comments:
Post a Comment